
Detail Report · iPhone and iPad app
Detail Report
What it's for, key features and how to use it
What Detail Report is for
Detail Report helps builders, trades, building managers, developers and sales staff record a site inspection quickly and properly, and finish the report before leaving site. Photos, mark-ups, locations and notes are captured on the iPhone and issued as a PDF, Word (.docx), Excel (photos in the cells) or a web page (.htm) that shows photos, videos and 3D models in any browser. 3D models need an iPhone Pro with LiDAR.
- Builders and site supervisors: defect inspections, rectification, QA and DLP checks.
- Trades: before-and-after records of their own work.
- Building managers: defect lists to pass on to the builder or owners corporation.
- Developers: progress and handover records.
- Sales staff: condition records and measure-ups for quotes.
Everything is stored on the device, so it works with no signal. One app replaces the camera roll, the mark-up app, the PDF tools and the Word template: every photo lands on a numbered page, in a section, ready to print.
Key features
The headline features, with more detail on each group below.
- 1
Cloud folder sync
Each report's latest PDF (plus the .htm and video files) is copied to an online folder such as Dropbox, OneDrive, Google Drive or iCloud Drive.
- 2
Timestamp
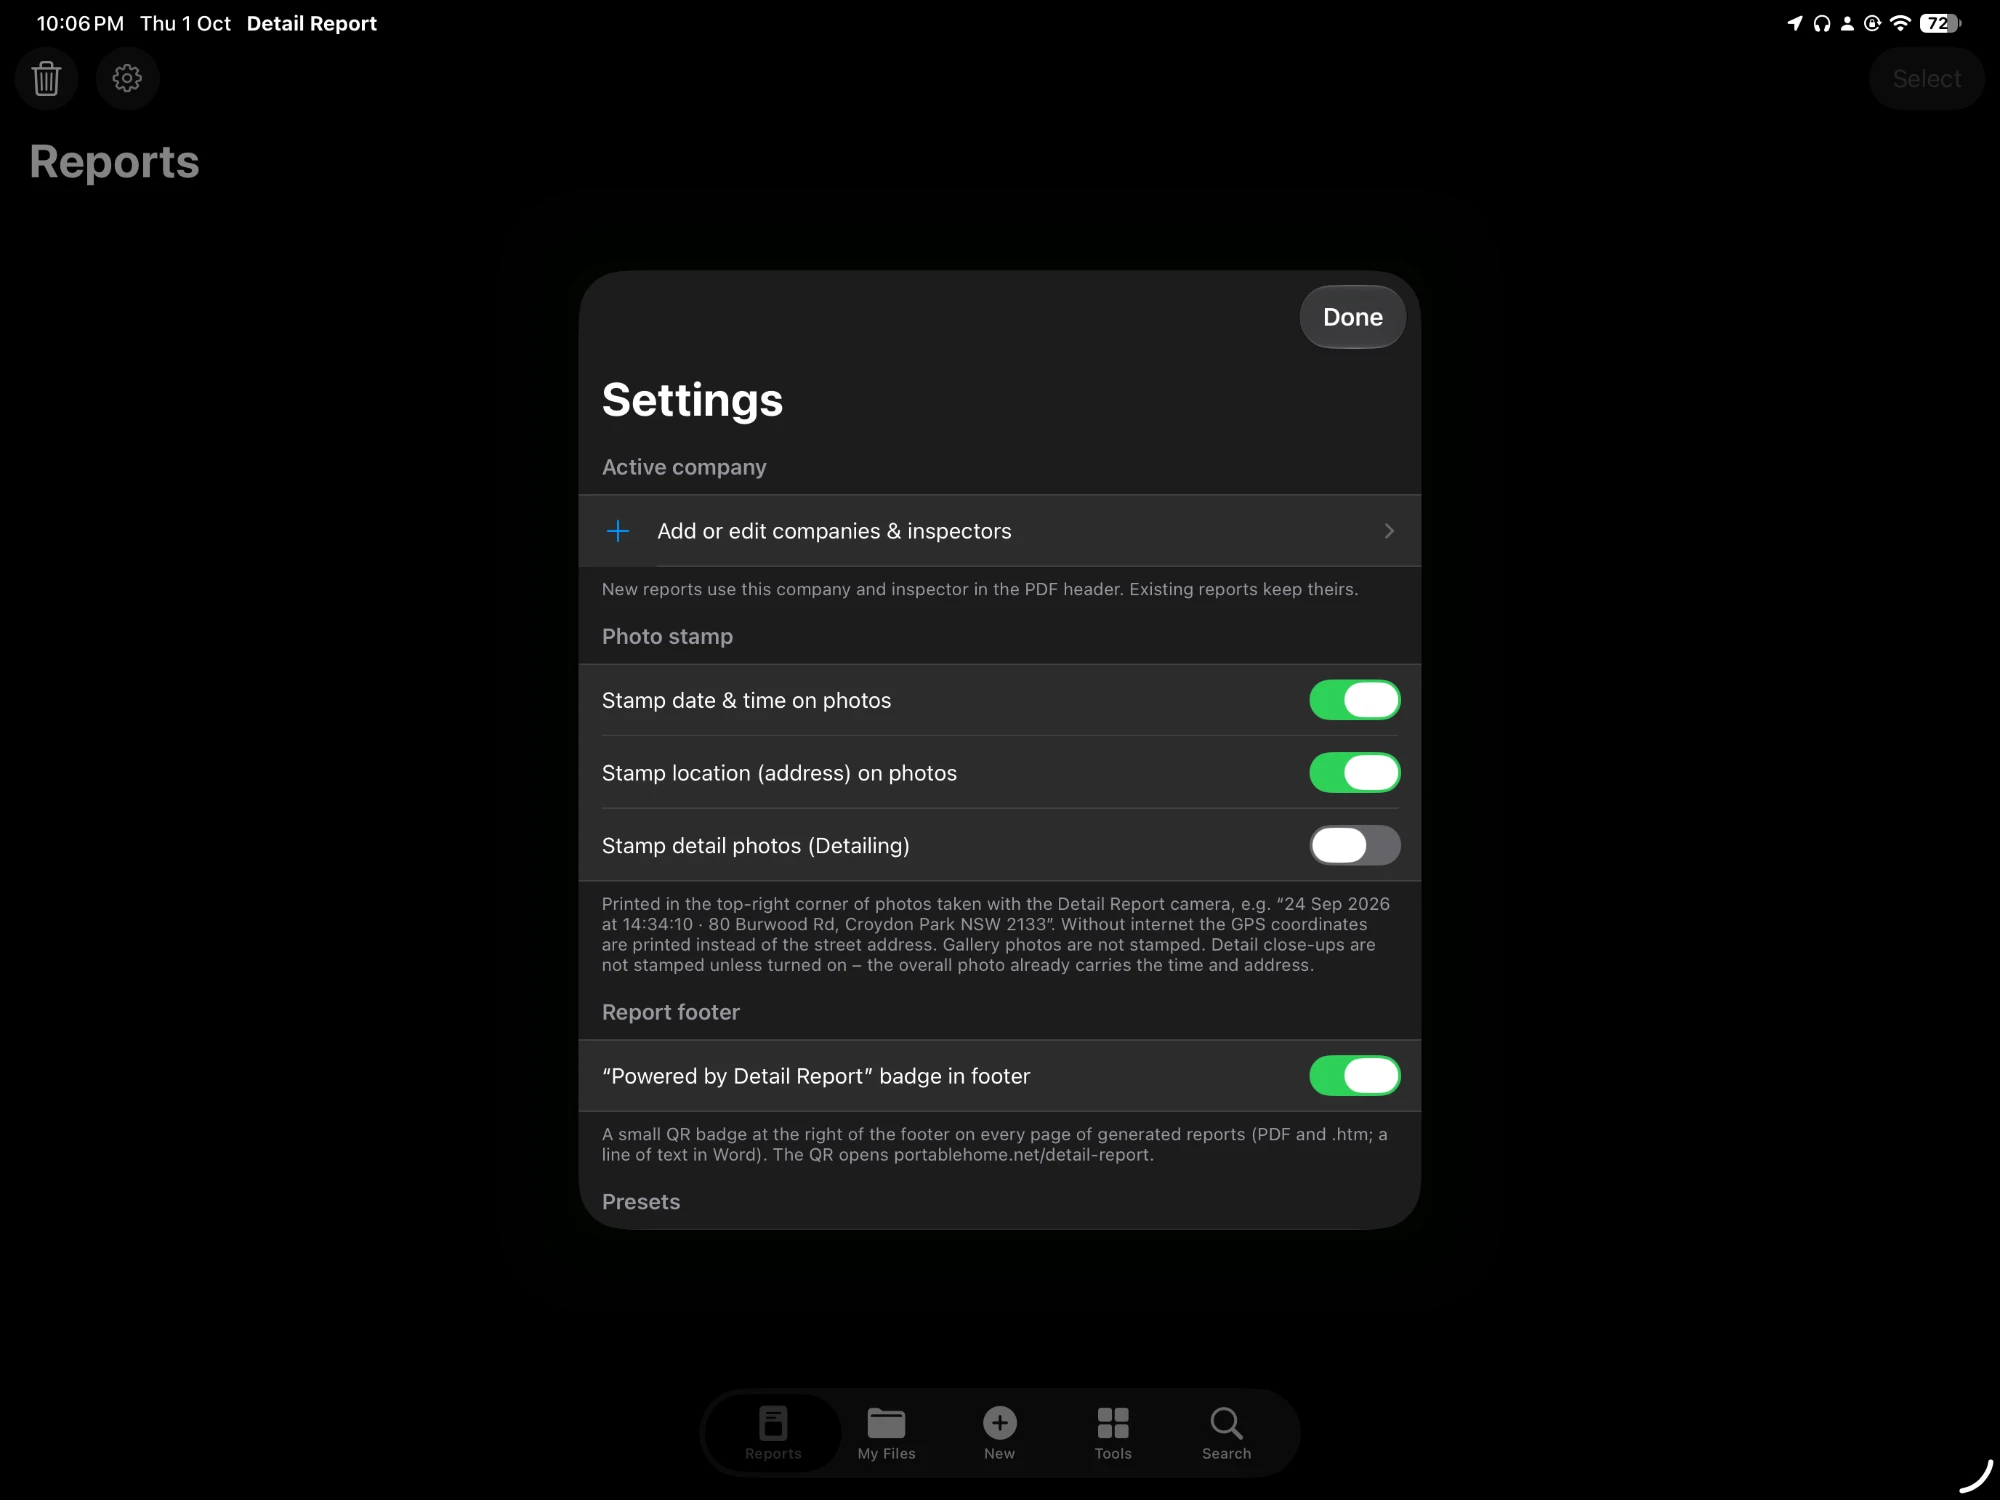
The date, time and location are recorded automatically on every photo and video taken with the Detail Report camera. Time and location can each be switched off.
- 3
Video capture
Record video directly; it is saved in the app with the report.
- 4
Photo comparison
Compare photos side by side, e.g. before and after.
- 5
Multimedia HTML report
Export one .htm file that shows videos, photos, text and 3D models you can turn and zoom, in any browser.
- 6
Tags
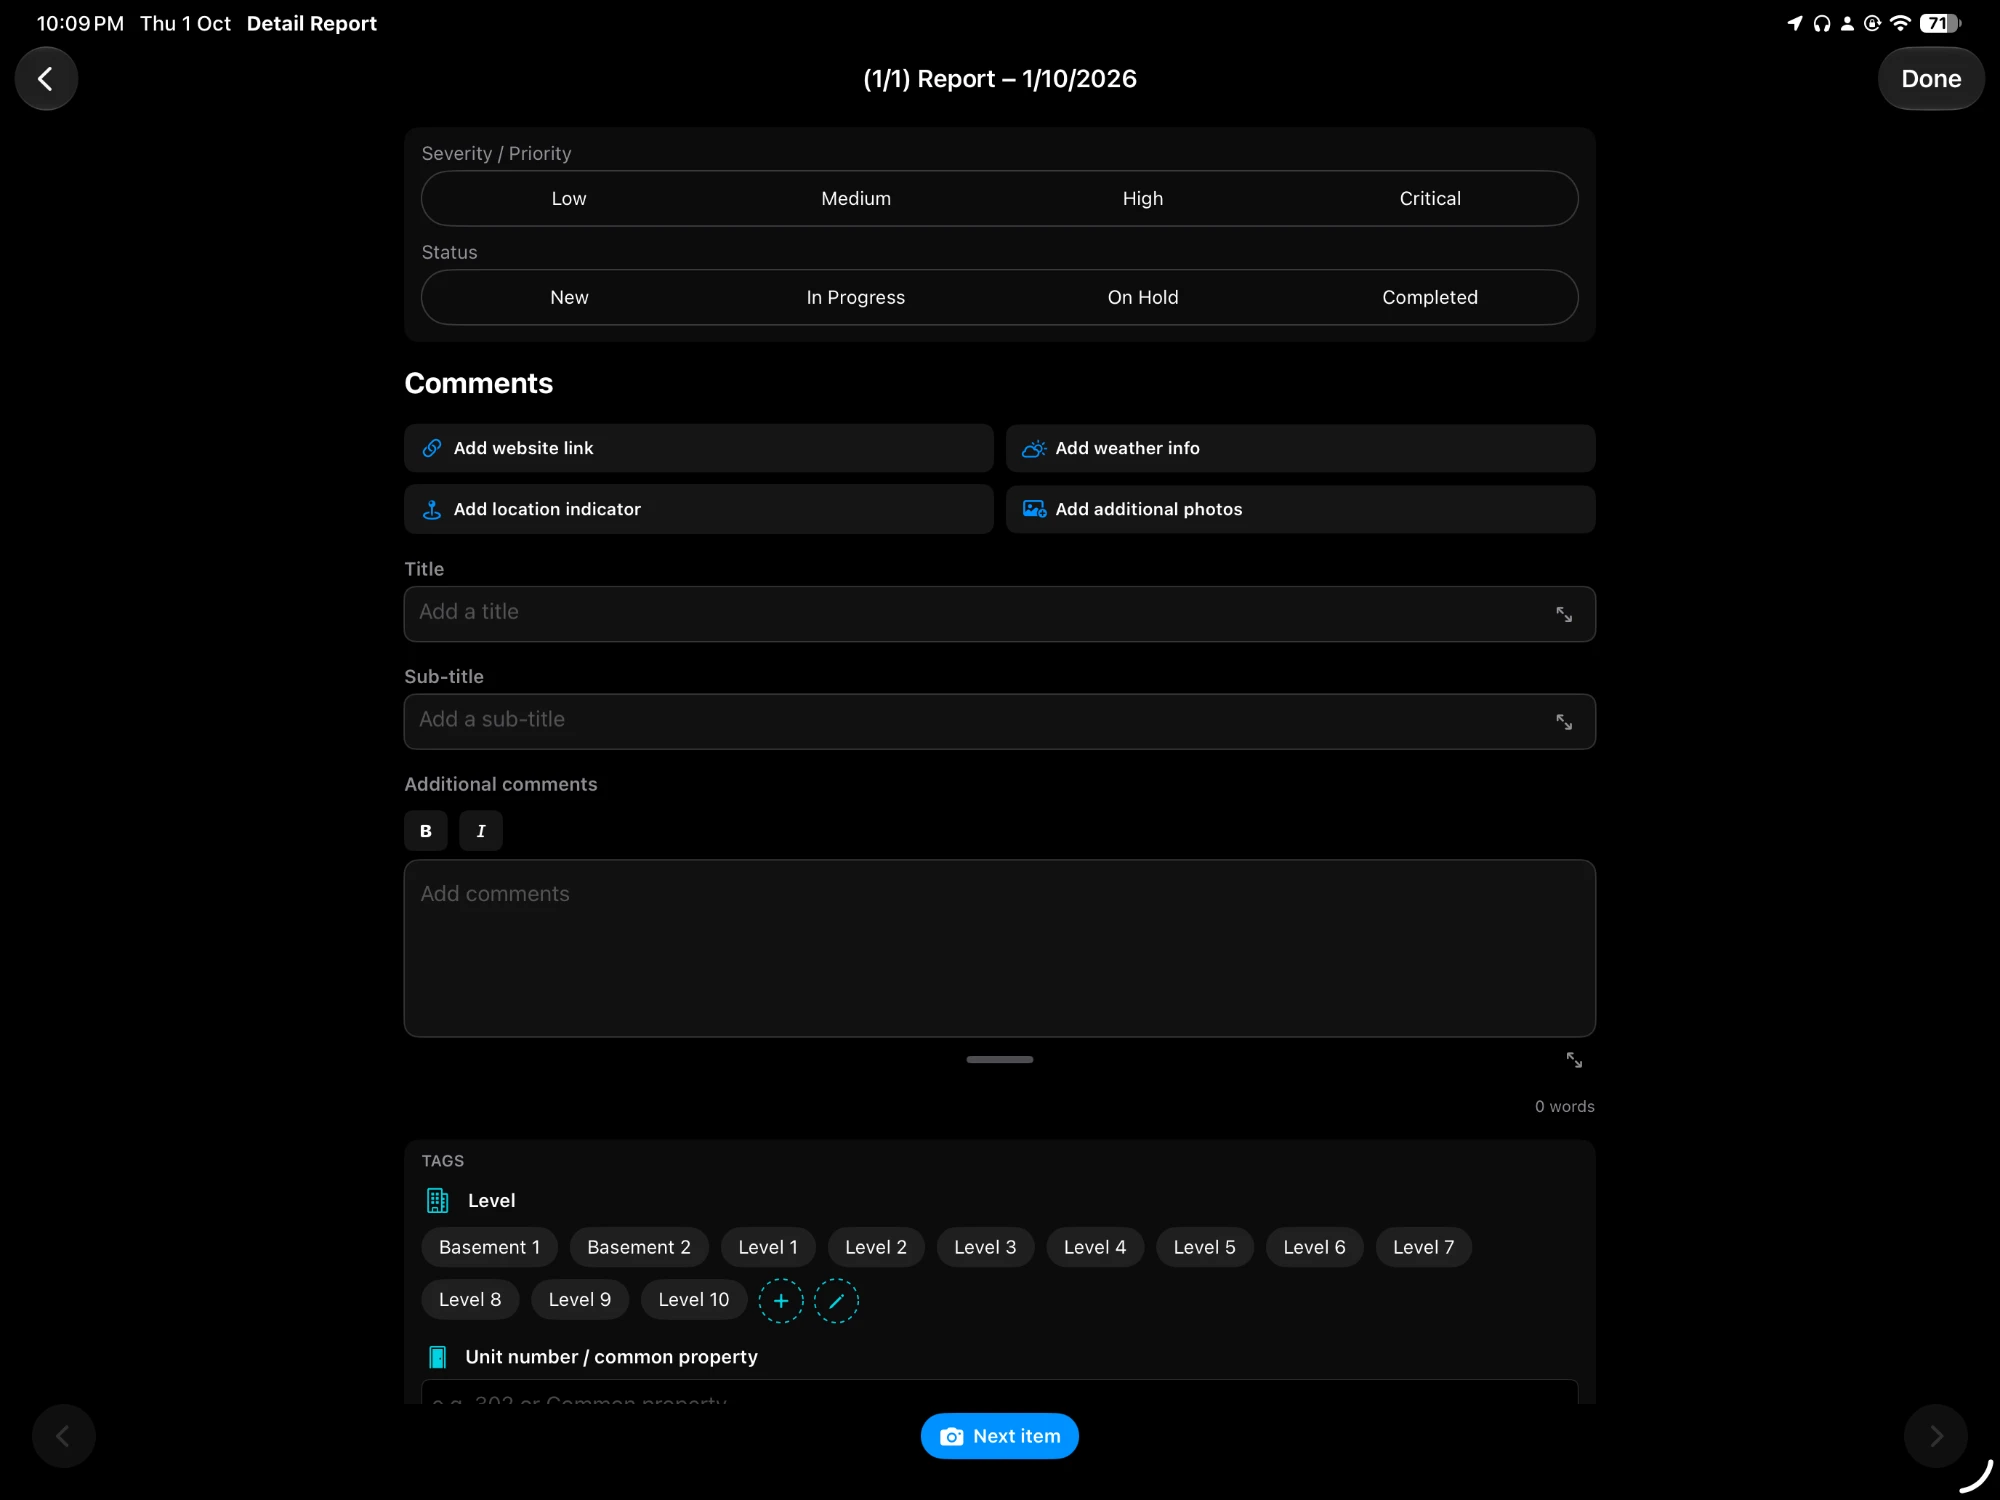
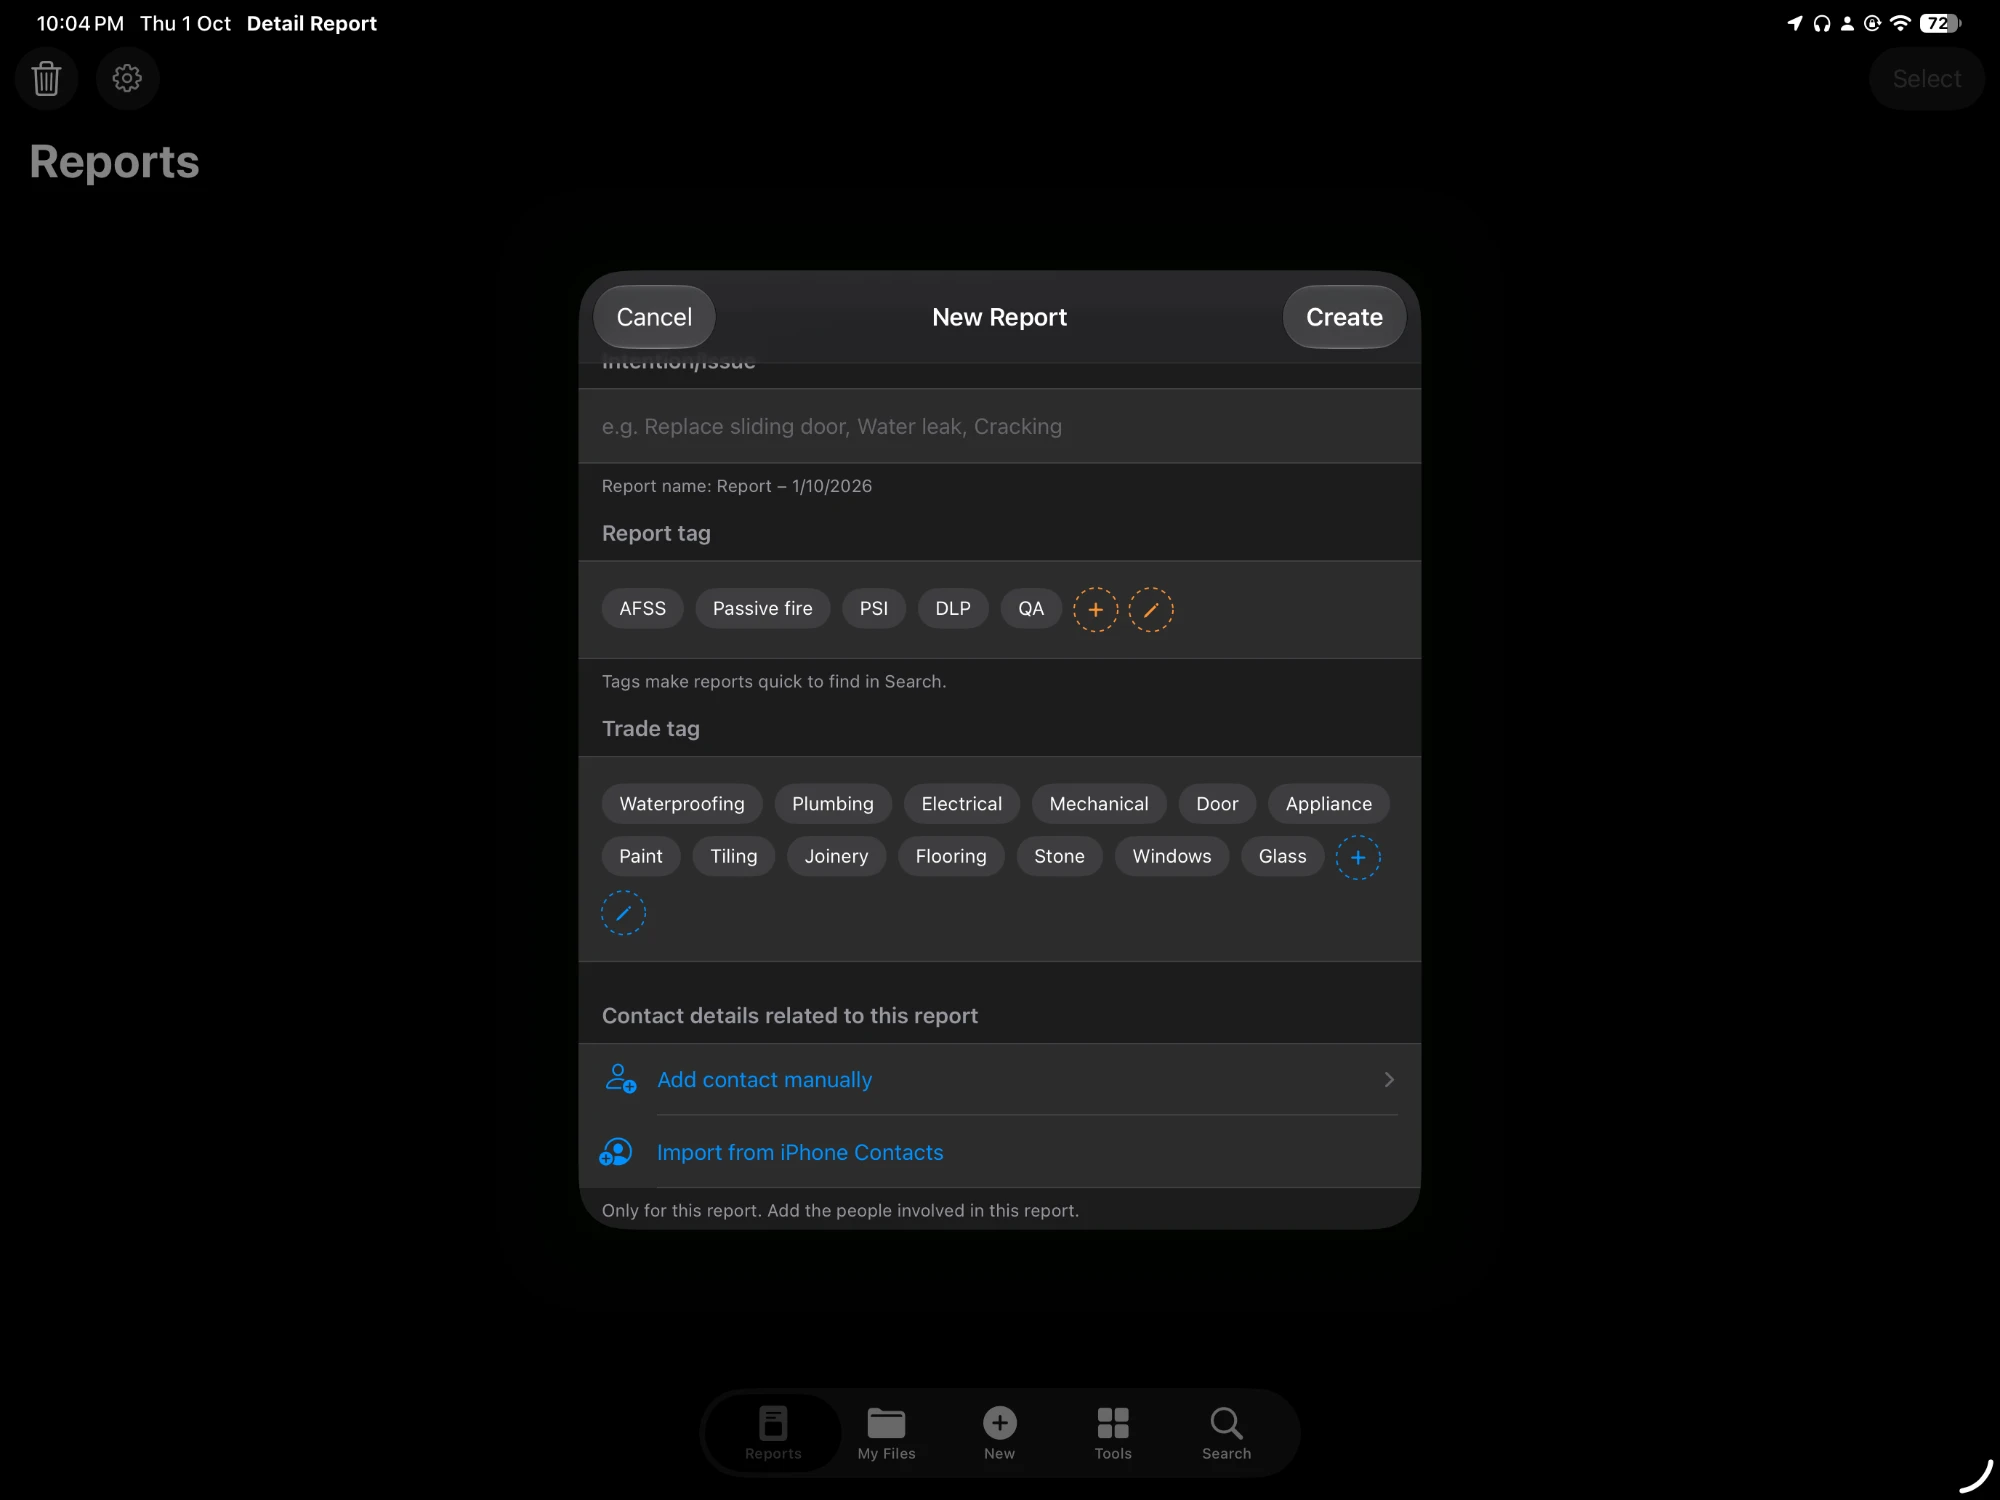
Tag reports and each page by level, unit, room, trade and defect class, so they can be found in Search.
- 7
Preset project names
Pick the project from a saved list instead of typing it each time.
- 8
Contact import
Import contact details from iPhone Contacts into a report.
- 9
Mark-up as you shoot
The mark-up tools open as soon as the photo is taken.
- 10
Measure with the camera
Take measurements with the AR camera (more accurate on LiDAR iPhones) and save them straight into the report.
- 11
Document scanner
Takes neat, straightened photos of documents.
- 12
Location plan indicator
Mark the spot on a plan so the location is easy to find.
- 13
Weather
Get the site weather and save it straight into the report.
- 14
Choice of 4 layouts
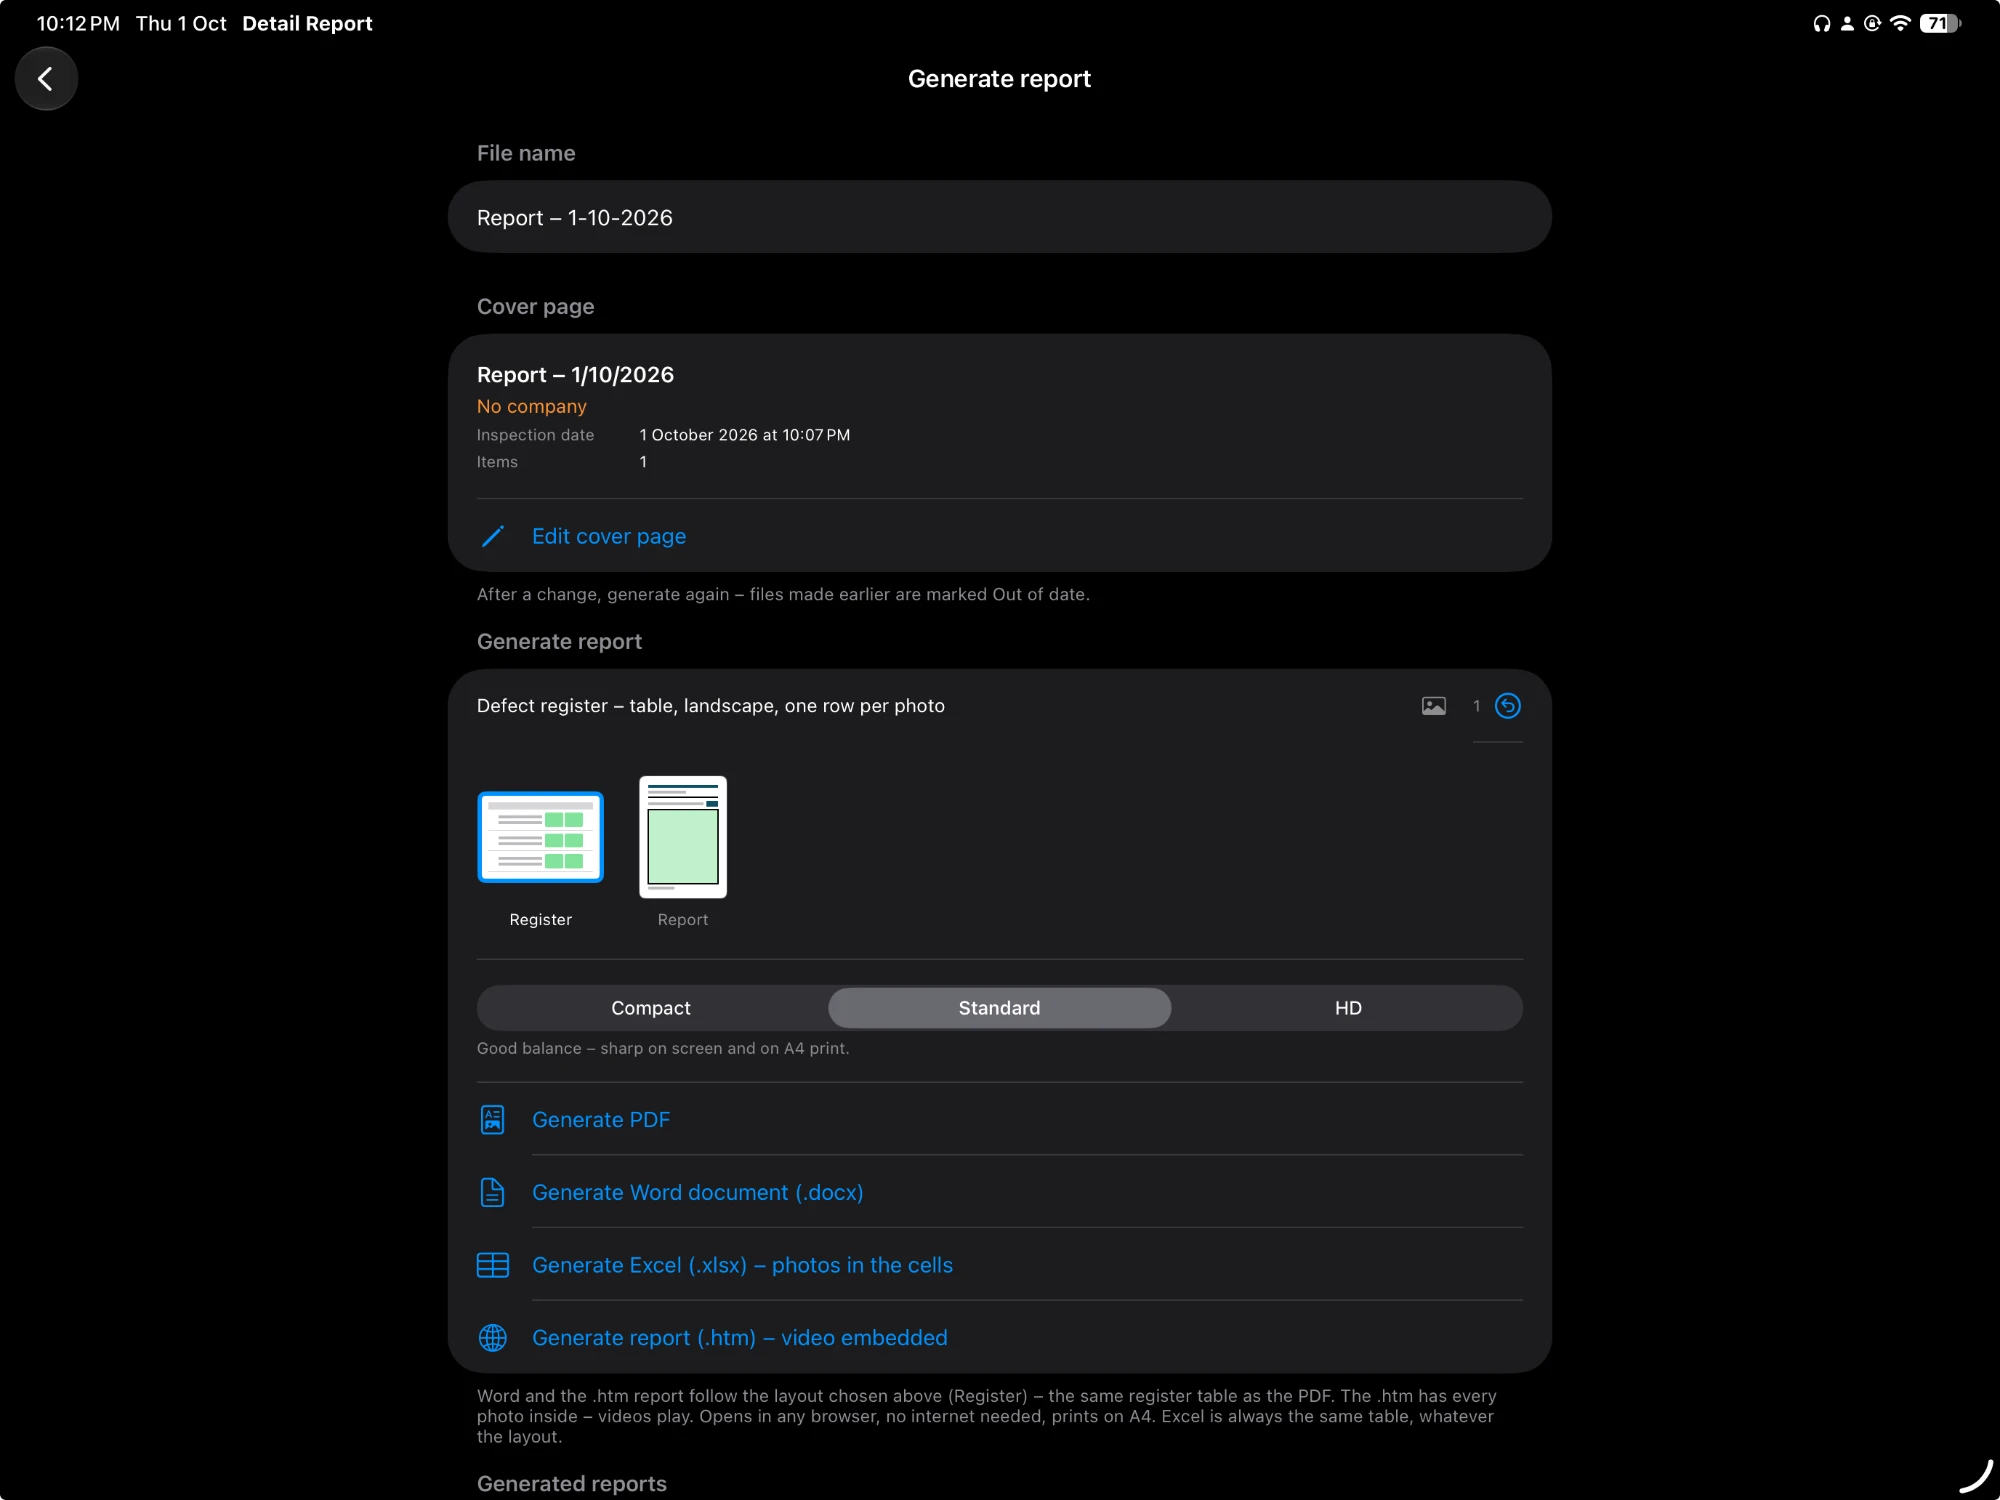
When the report is made: defect register (table), report, 4-photo grid and landscape.
- 15
Detailing photo
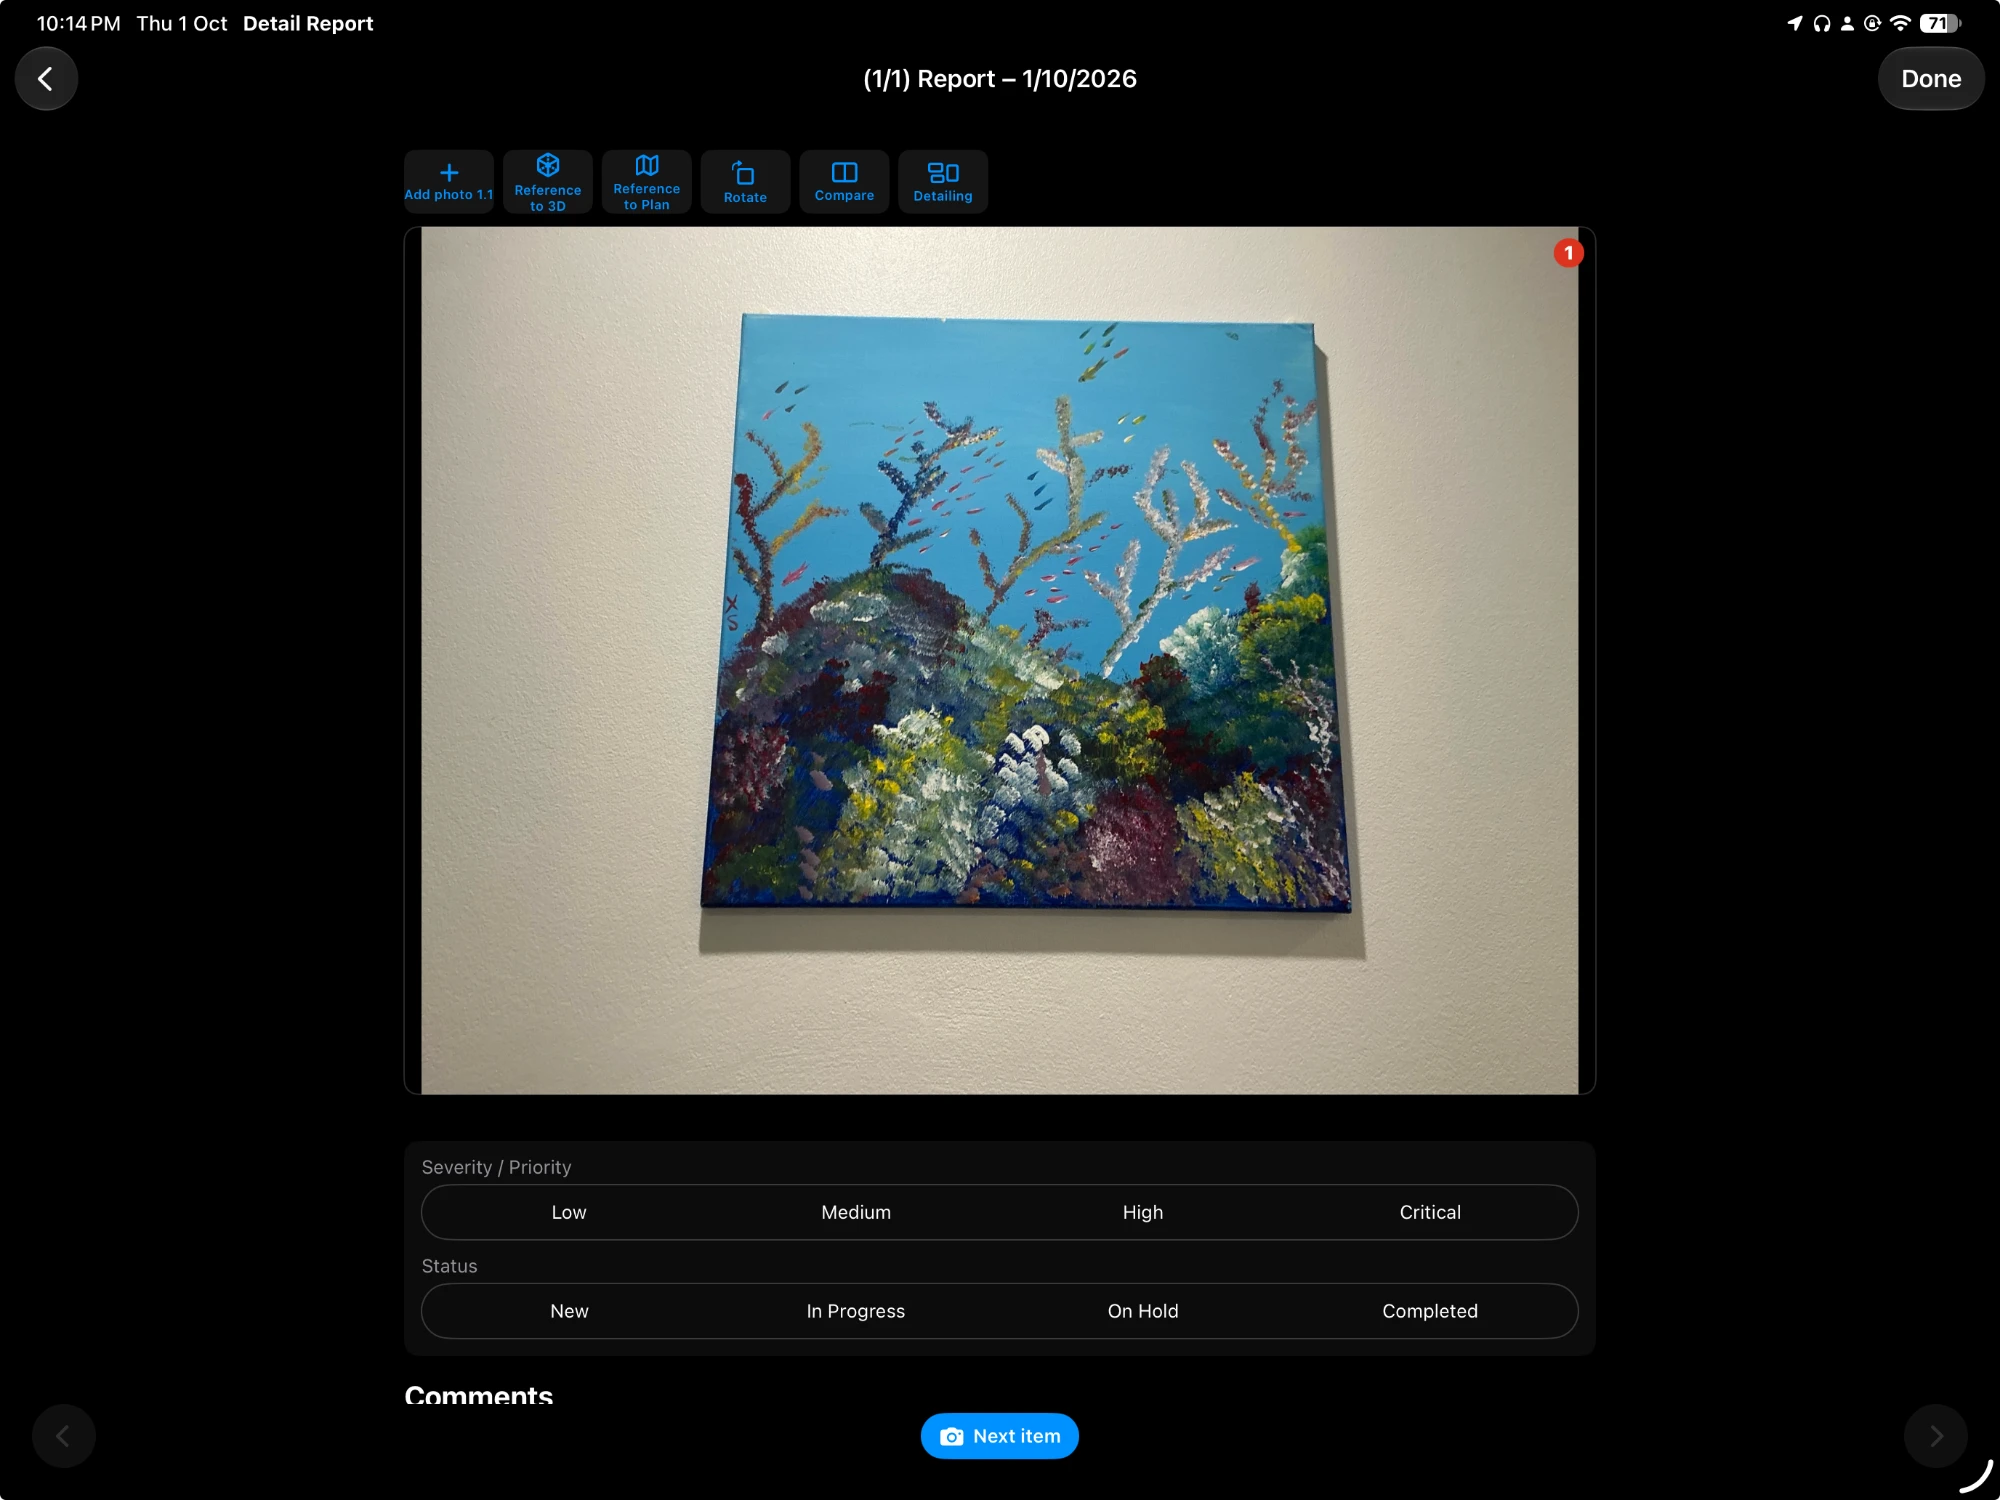
Close-ups joined to the overall photo by numbered leader lines.
- 16
360° photo
Take a 360° photo you can look around (Tools tab).
Also in the app: 3D Record with the LiDAR scanner, Word and Excel export (Excel with photos in the cells), PDF tools (scan, merge, photos to PDF, fill & sign) and the Inbox shown in the Files app.
Capture on site
- Detail Report camera
- Photo and video, 0.5× to 4× zoom, flash on Auto. Mark up and describe each photo straight after the shot, then tap Next page to keep going.
- Date, time and address stamp
- Switched on or off separately in Settings.
- Gallery, scanned documents and weather
- Add existing photos and videos, scan paperwork, or drop in the site weather at inspection time.
Mark up and detail
- Mark-up tools
- Locator (with a HERE leader line), pen, line, arrow, measurement, box, circle, revision cloud, callout and text, in seven colours. Pinch to zoom for precise marks.
- Detailing photo
- One overall photo plus up to 8 numbered close-ups, joined by leader lines on a single page.
- Measure with the camera
- AR measurements saved on the photo and still editable.
- Location indicator
- Pick a plan (PDF or photo) from the Inbox, put the Locator on the spot, and a note explains what it shows.
- Comparison photo
- Before and after, side by side.
3D and 360°
- 3D record (LiDAR iPhone Pro)
- Scan the room; the app draws a floor plan with wall lengths in mm, a photo key plan (P1, P2… with the direction each photo faced) and a 3D model to look around, in the app and in the .htm report.
- 360° photo
- Stand on one spot and turn; the photos are joined into a 360° you can look around, saved to Photos.
Reports and output
- Cover page
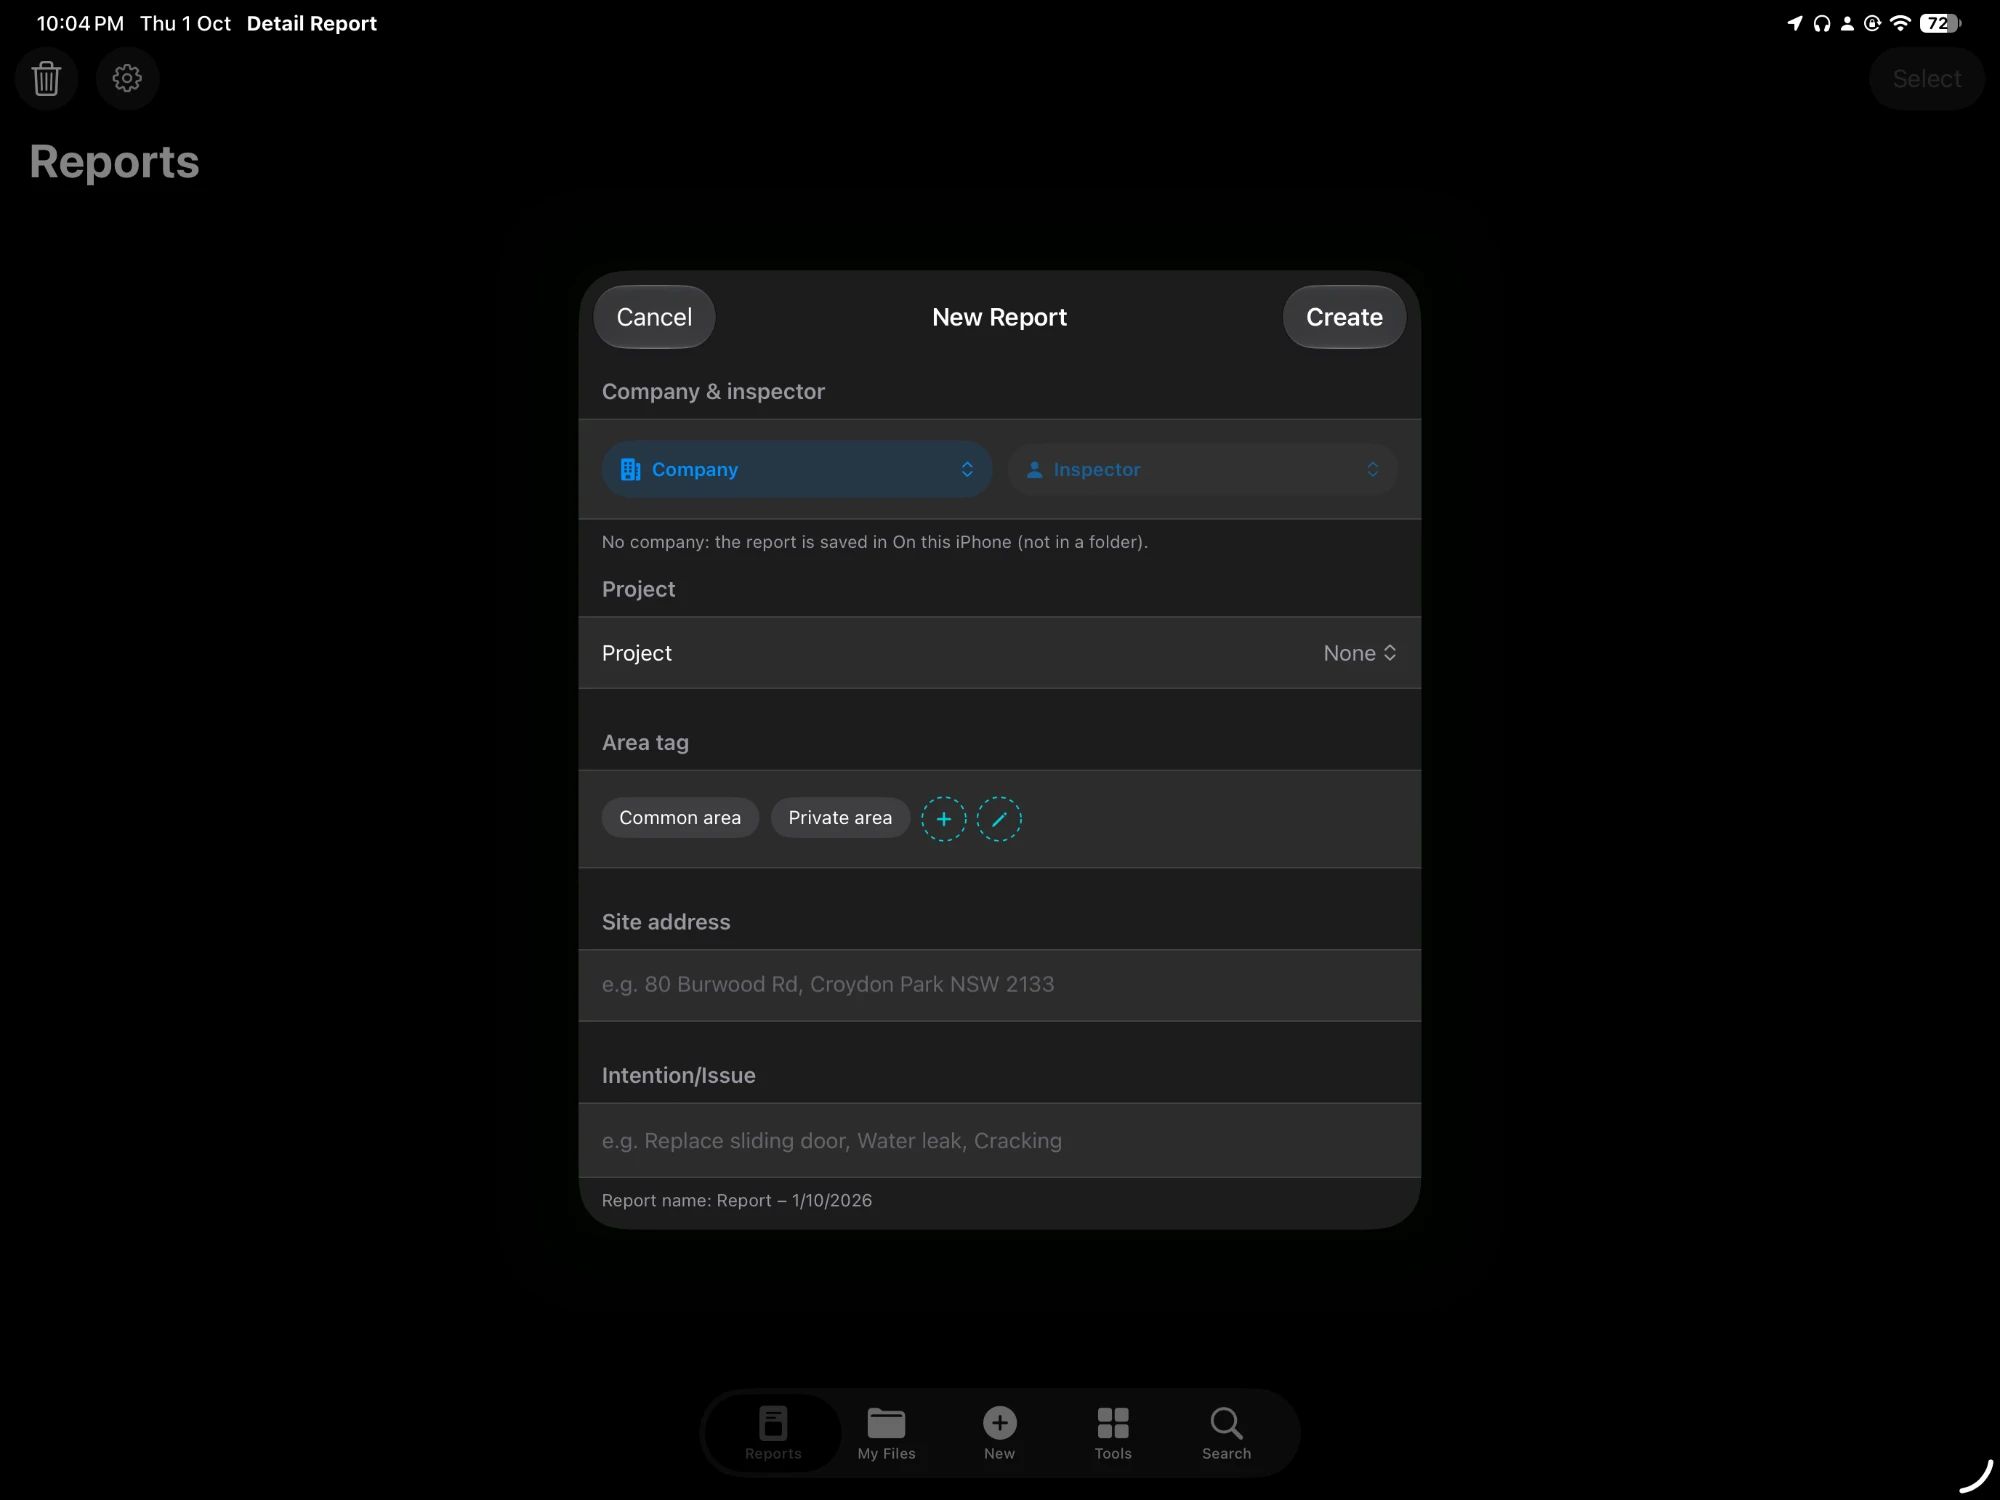
- Company letterhead, inspector, project (presets: Adel, Chateau, Esplanade, Spring Square, Verset), building manager, developer, site address, issue and tags.
- Structure
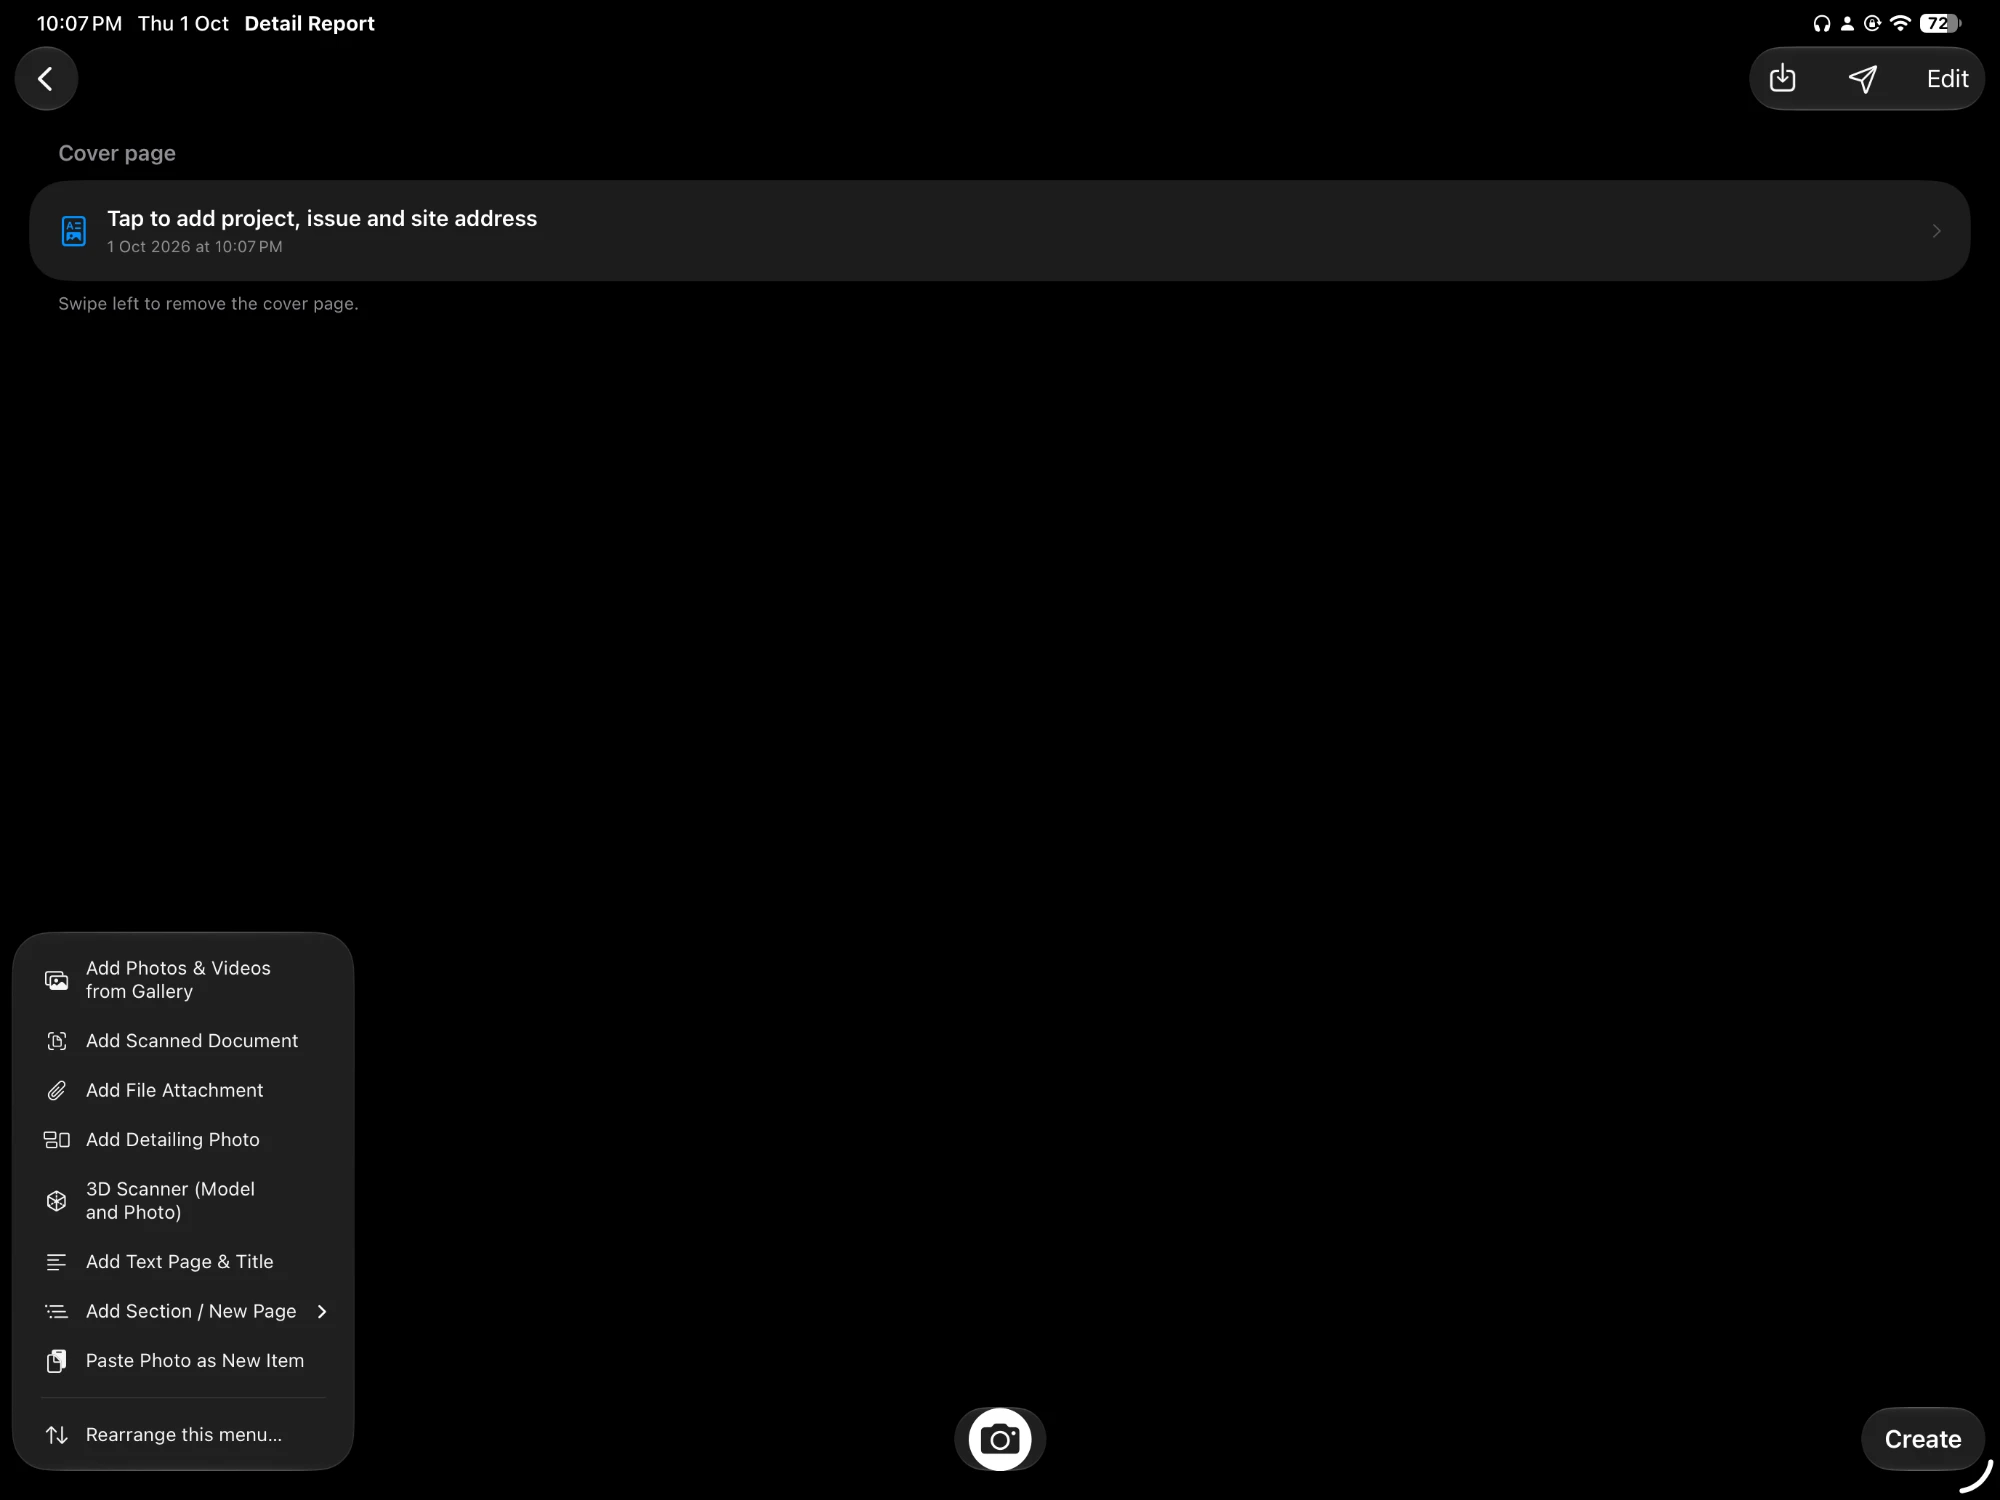
- Sections, numbered pages, move pages between sections, reorder the Add menu.
- Layouts
- Defect-register table (default), 2 × 2 photo grid, landscape and template.
- Formats
- PDF, Word (.docx), Excel with the photos inside the cells, and a web page (.htm) with photos, videos and 3D models.
- Search
- By project, tag, trade, address, contact or any page note.
Files and tools
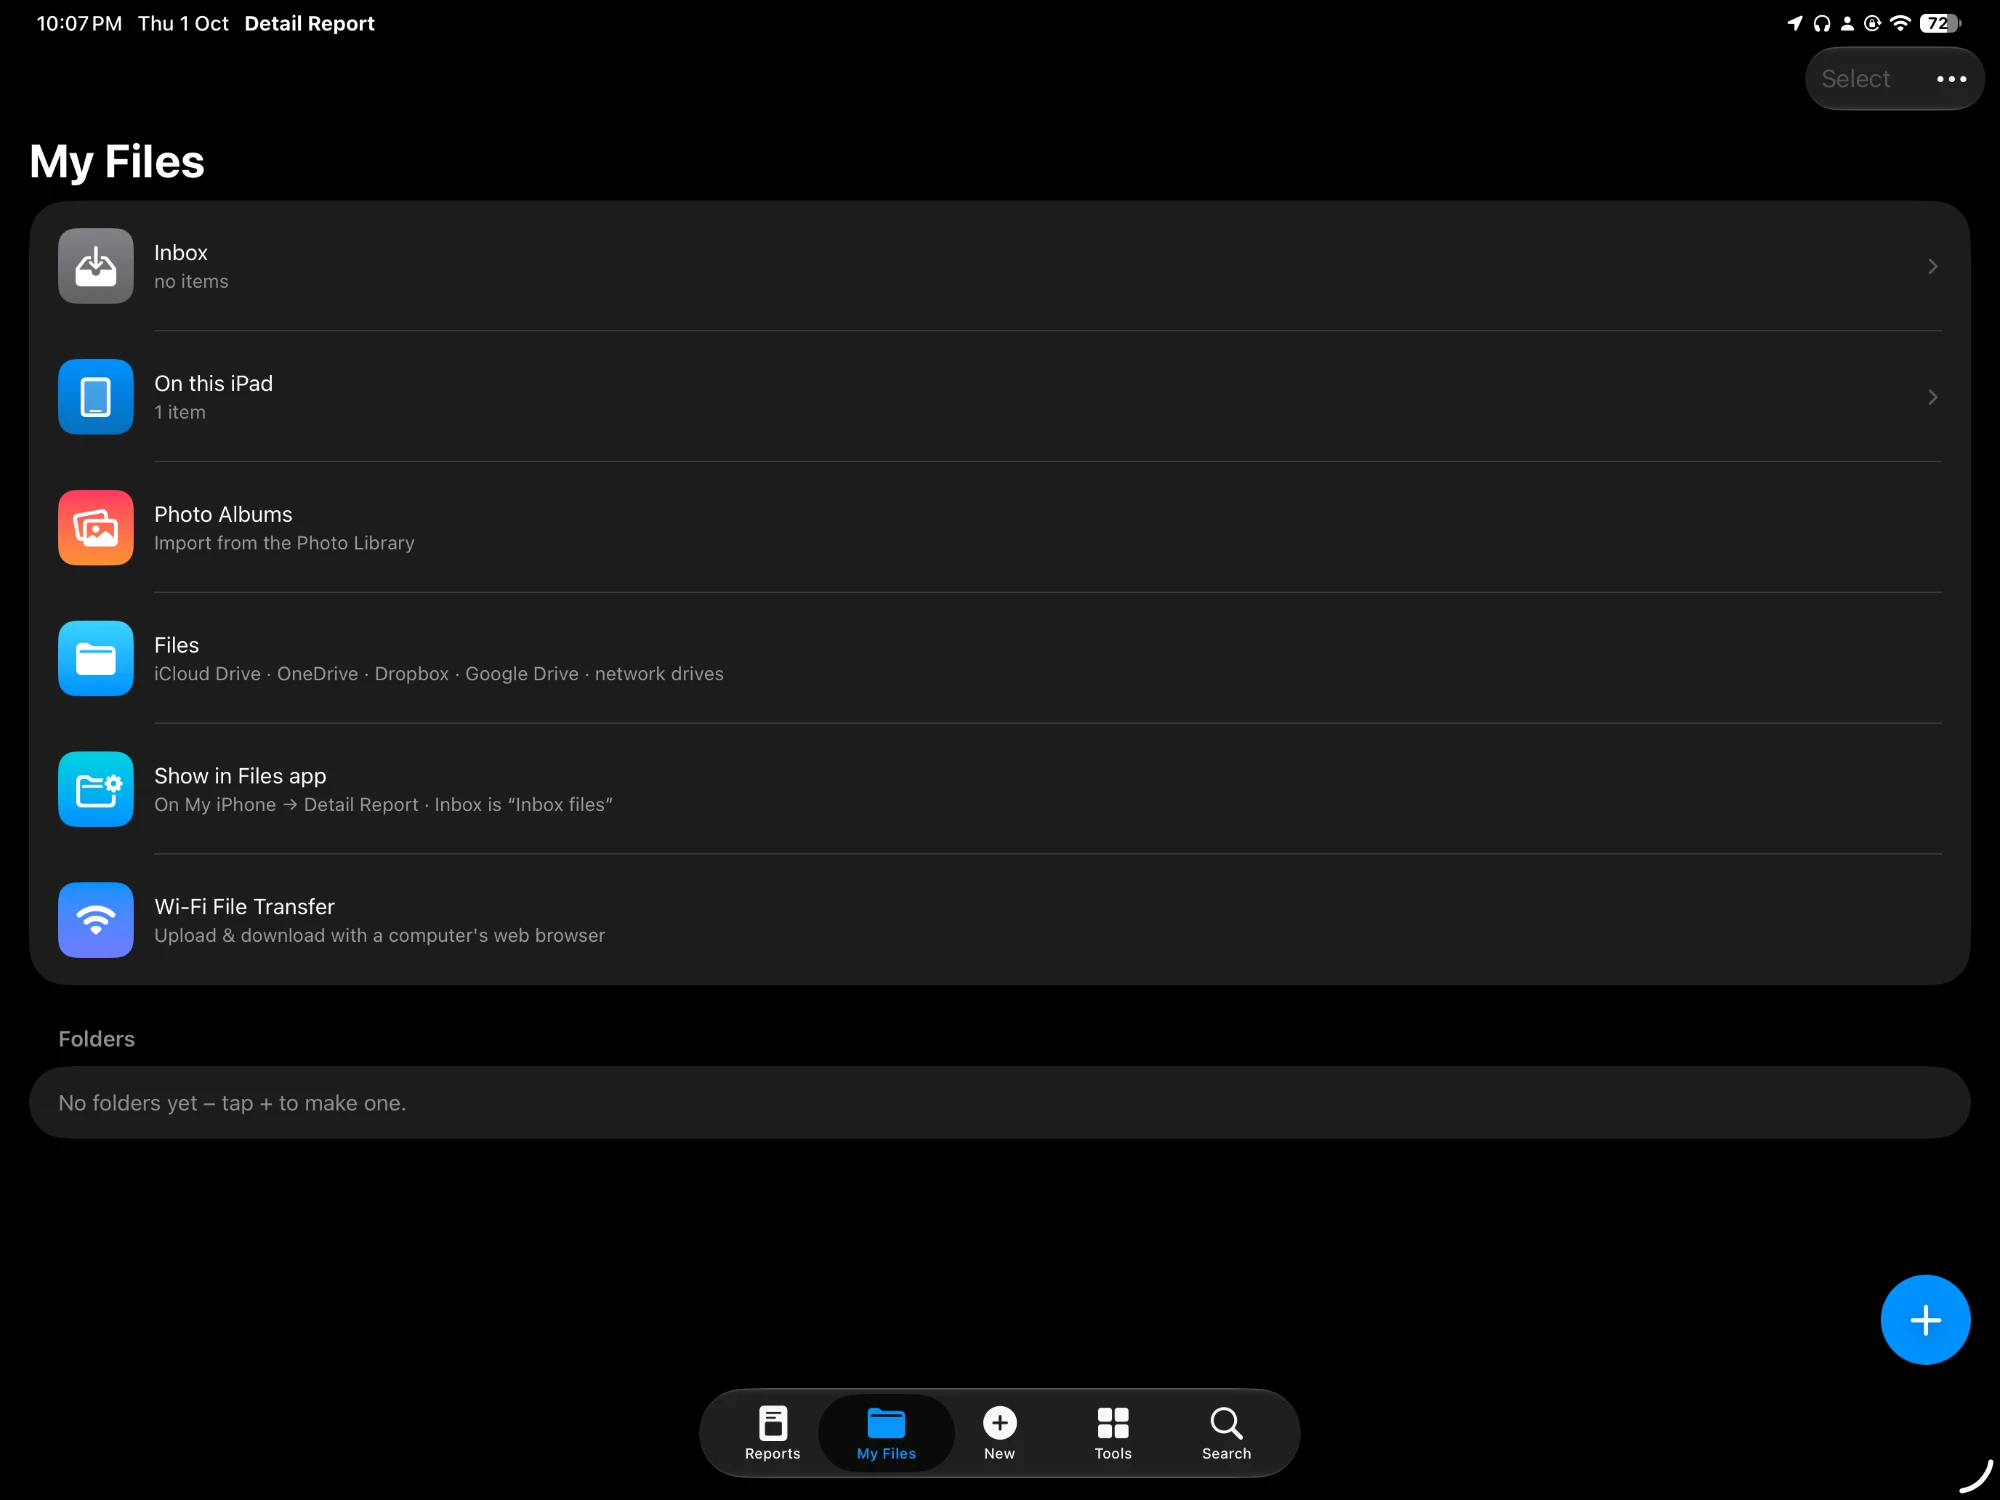
- My Files and Inbox
- Company folders, Inbox sub-folders and whole-folder import; everything also shows in the Files app under On My iPhone → Detail Report.
- Tools tab
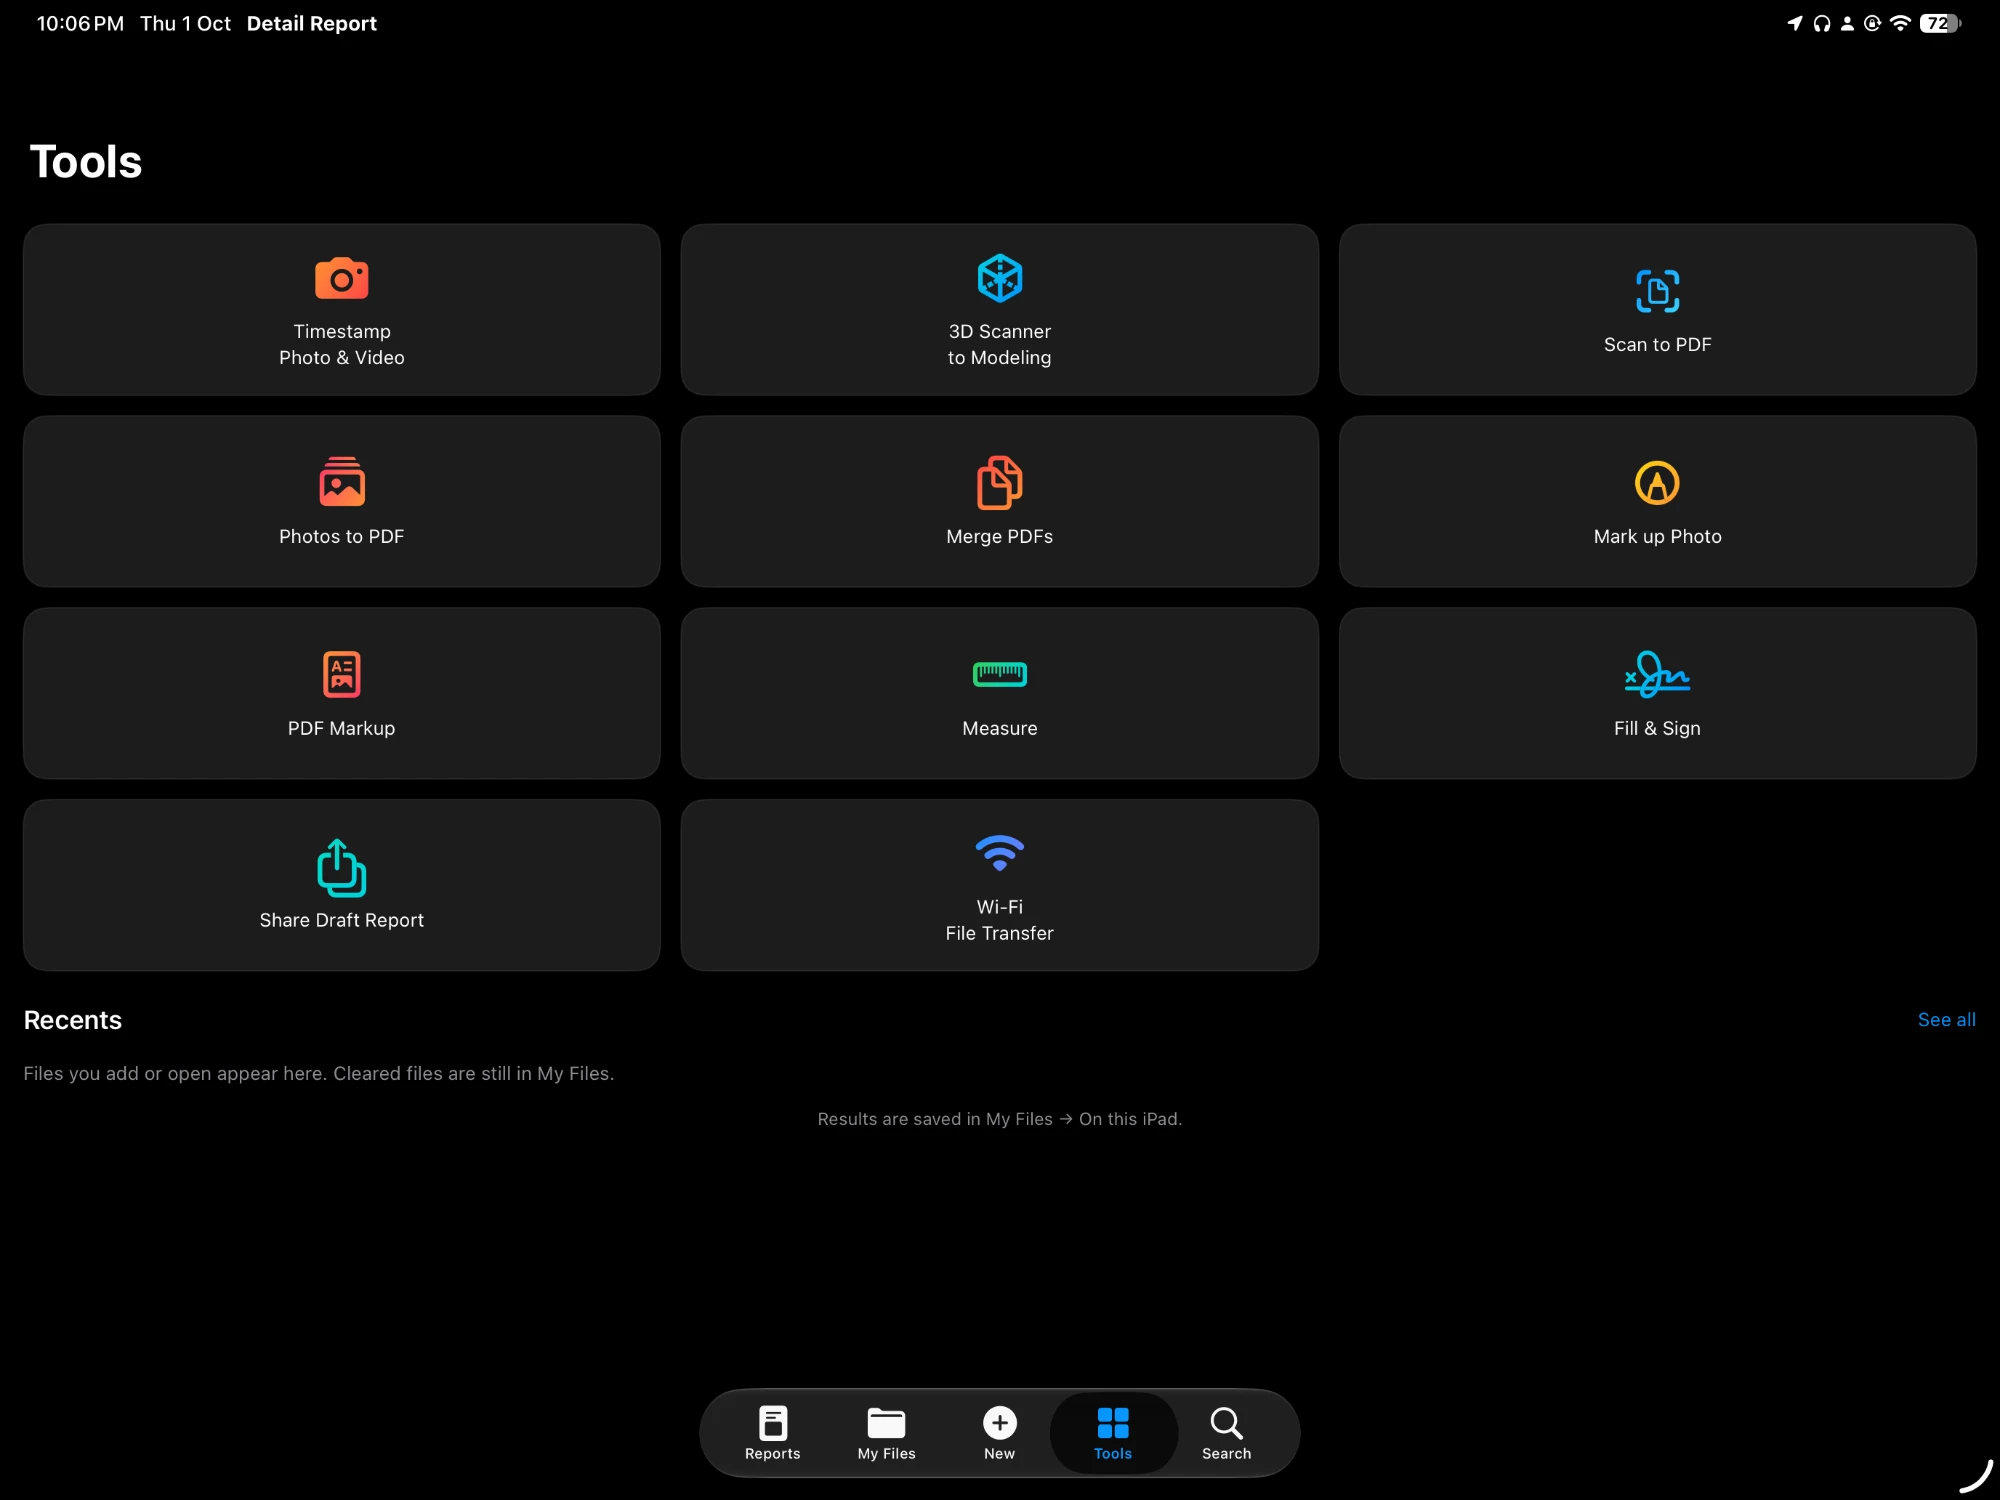
- Timestamp Photo & Video, 360° Photo, Scan to PDF, Photos to PDF, Merge PDFs, Mark up Photo, Measure, Fill & Sign, Import Files and Open Report File.
Demo 1: a defect inspection, start to finish
Example: a hair-line crack at Spring Square, reported for Westbourne Construction.
- 1
Start the report. Tap New in the tab bar. Company and inspector fill in from Settings. Choose Project: Spring Square, an Area tag, the location (e.g. Level 2 lobby) and the Intention/Issue ("Hair line crack"), then tap Create.
- 2
Check the cover page. It opens once by itself. Confirm the site address and inspector, add the Building manager or Developer if needed, and tap Done.
- 3
Take the photos. Tap the camera button at the bottom of the report. After each shot, pick a mark-up tool, type a description and save; level, unit, room and trade tags are filled in from what you type, and you can tap more in the Tags section of the page. Tap Next page to put the next photo on a new page.
- 4
Show the detail. Add → Add Detailing Photo: take the overall photo, then tap each spot to take its close-up (up to 8). They print on one page with numbered leader lines.
- 5
Show where it is. Put the plan in My Files → Inbox first. On the page, tap the Location indicator button in the notes, pick the plan, place the Locator on the spot and Save. The marked plan goes into the notes with a line saying what it shows.
- 6
Record the room (optional). In the camera, tap 3D Record, walk the room slowly and tap the shutter for reference photos. The report gets a floor plan with P1, P2… and a 3D model.
- 7
Organise. Add sections with Add → Add Section / New Page, long-press a page to move it to another section, and use Edit to reorder or delete.
- 8
Issue it. Tap Create, choose the layout (defect-register table by default) and tap Generate PDF, or Word, Excel or .htm. Then ⋯ → Send / Share to email it or save it to Files.
Demo 2: quick jobs from the Tools tab
The app opens on Tools, for jobs that don't need a full report. Tap a tile and follow the screen.
Example: tap Timestamp Photo & Video, take the photo, and it is in the Photos app with the time and address on it. The camera reopens for the next shot; tap Cancel when done.
| Tool | Use it for | Result goes to |
|---|---|---|
| Timestamp Photo & Video | Site photos or videos with date, time and address burned in (tap VIDEO to switch) | Photos app |
| 360° Photo | A look-around record of a room from one spot | Photos app, or Share |
| Scan to PDF | Paper forms, dockets, drawings | My Files |
| Photos to PDF | Turning gallery photos into one PDF | My Files |
| Merge PDFs | Joining several PDFs into one | My Files |
| Mark up Photo | Marking up a photo that isn't in a report | My Files |
| Measure | Measuring with the camera and saving the photo with the dimensions | My Files |
| Fill & Sign | Filling in and signing a PDF form | My Files → On this iPhone |
| Import Files | Bringing plans and documents into the app | My Files |
| Open Report File | Opening a report sent from another iPhone or iPad | Reports |
Good to know
- Tags.
- Tag each photo or item as you add it, by level, unit, room, trade and defect class. A title such as “Level 3 unit 302 living room – cracked tiles” fills in Level 3, Unit 302, Living room and Tiling by itself, and anything else is one tap in the Tags section of the page. Add your own tags with + and hide built-in ones with the pencil, so on site it's a tap instead of typing. In the finished report the tags print at the top of each item's comment and as columns in Excel, and Search finds every report that has them, for example every report with a waterproofing item.
- Backups.
- Settings → Online copies each report's latest PDF (and .htm and videos) to OneDrive, Dropbox, Google Drive or iCloud Drive. The editable reports stay on the phone; use Send to Another Device to keep an editable copy elsewhere.
- Active company.
- Set it in Settings; every new report starts with it. Picking another company for one report doesn't change it.
- Redo the PDF after changes.
- Files made before a change are marked Out of date.
- Camera.
- It won't work through iPhone Mirroring on the Mac; use the phone itself. The flash starts on Auto; switch it off for tiles, glass and glossy paint to avoid glare.
- 3D Record
- needs an iPhone Pro with LiDAR. Wall lengths are approximate and the plan says it is not for set-out.
- 360° Photo
- is the newest tool and not yet proven on site. Phone-made 360s can show seams on close objects; a one-shot 360 camera is better for records that may be disputed.
- Stamps are not proof on their own.
- A burned-in date is easy to fake; the date and location saved inside the file carry more weight.
- Current install.
- Built from Xcode with a free Apple ID, so it stops opening after 7 days until it is installed again. An App Store release needs the paid Apple Developer Program.
Want this as a document? The same guide, five pages, as a PDF.
Download PDF